an upcycled kid seat
this was a really fun upcycling project.
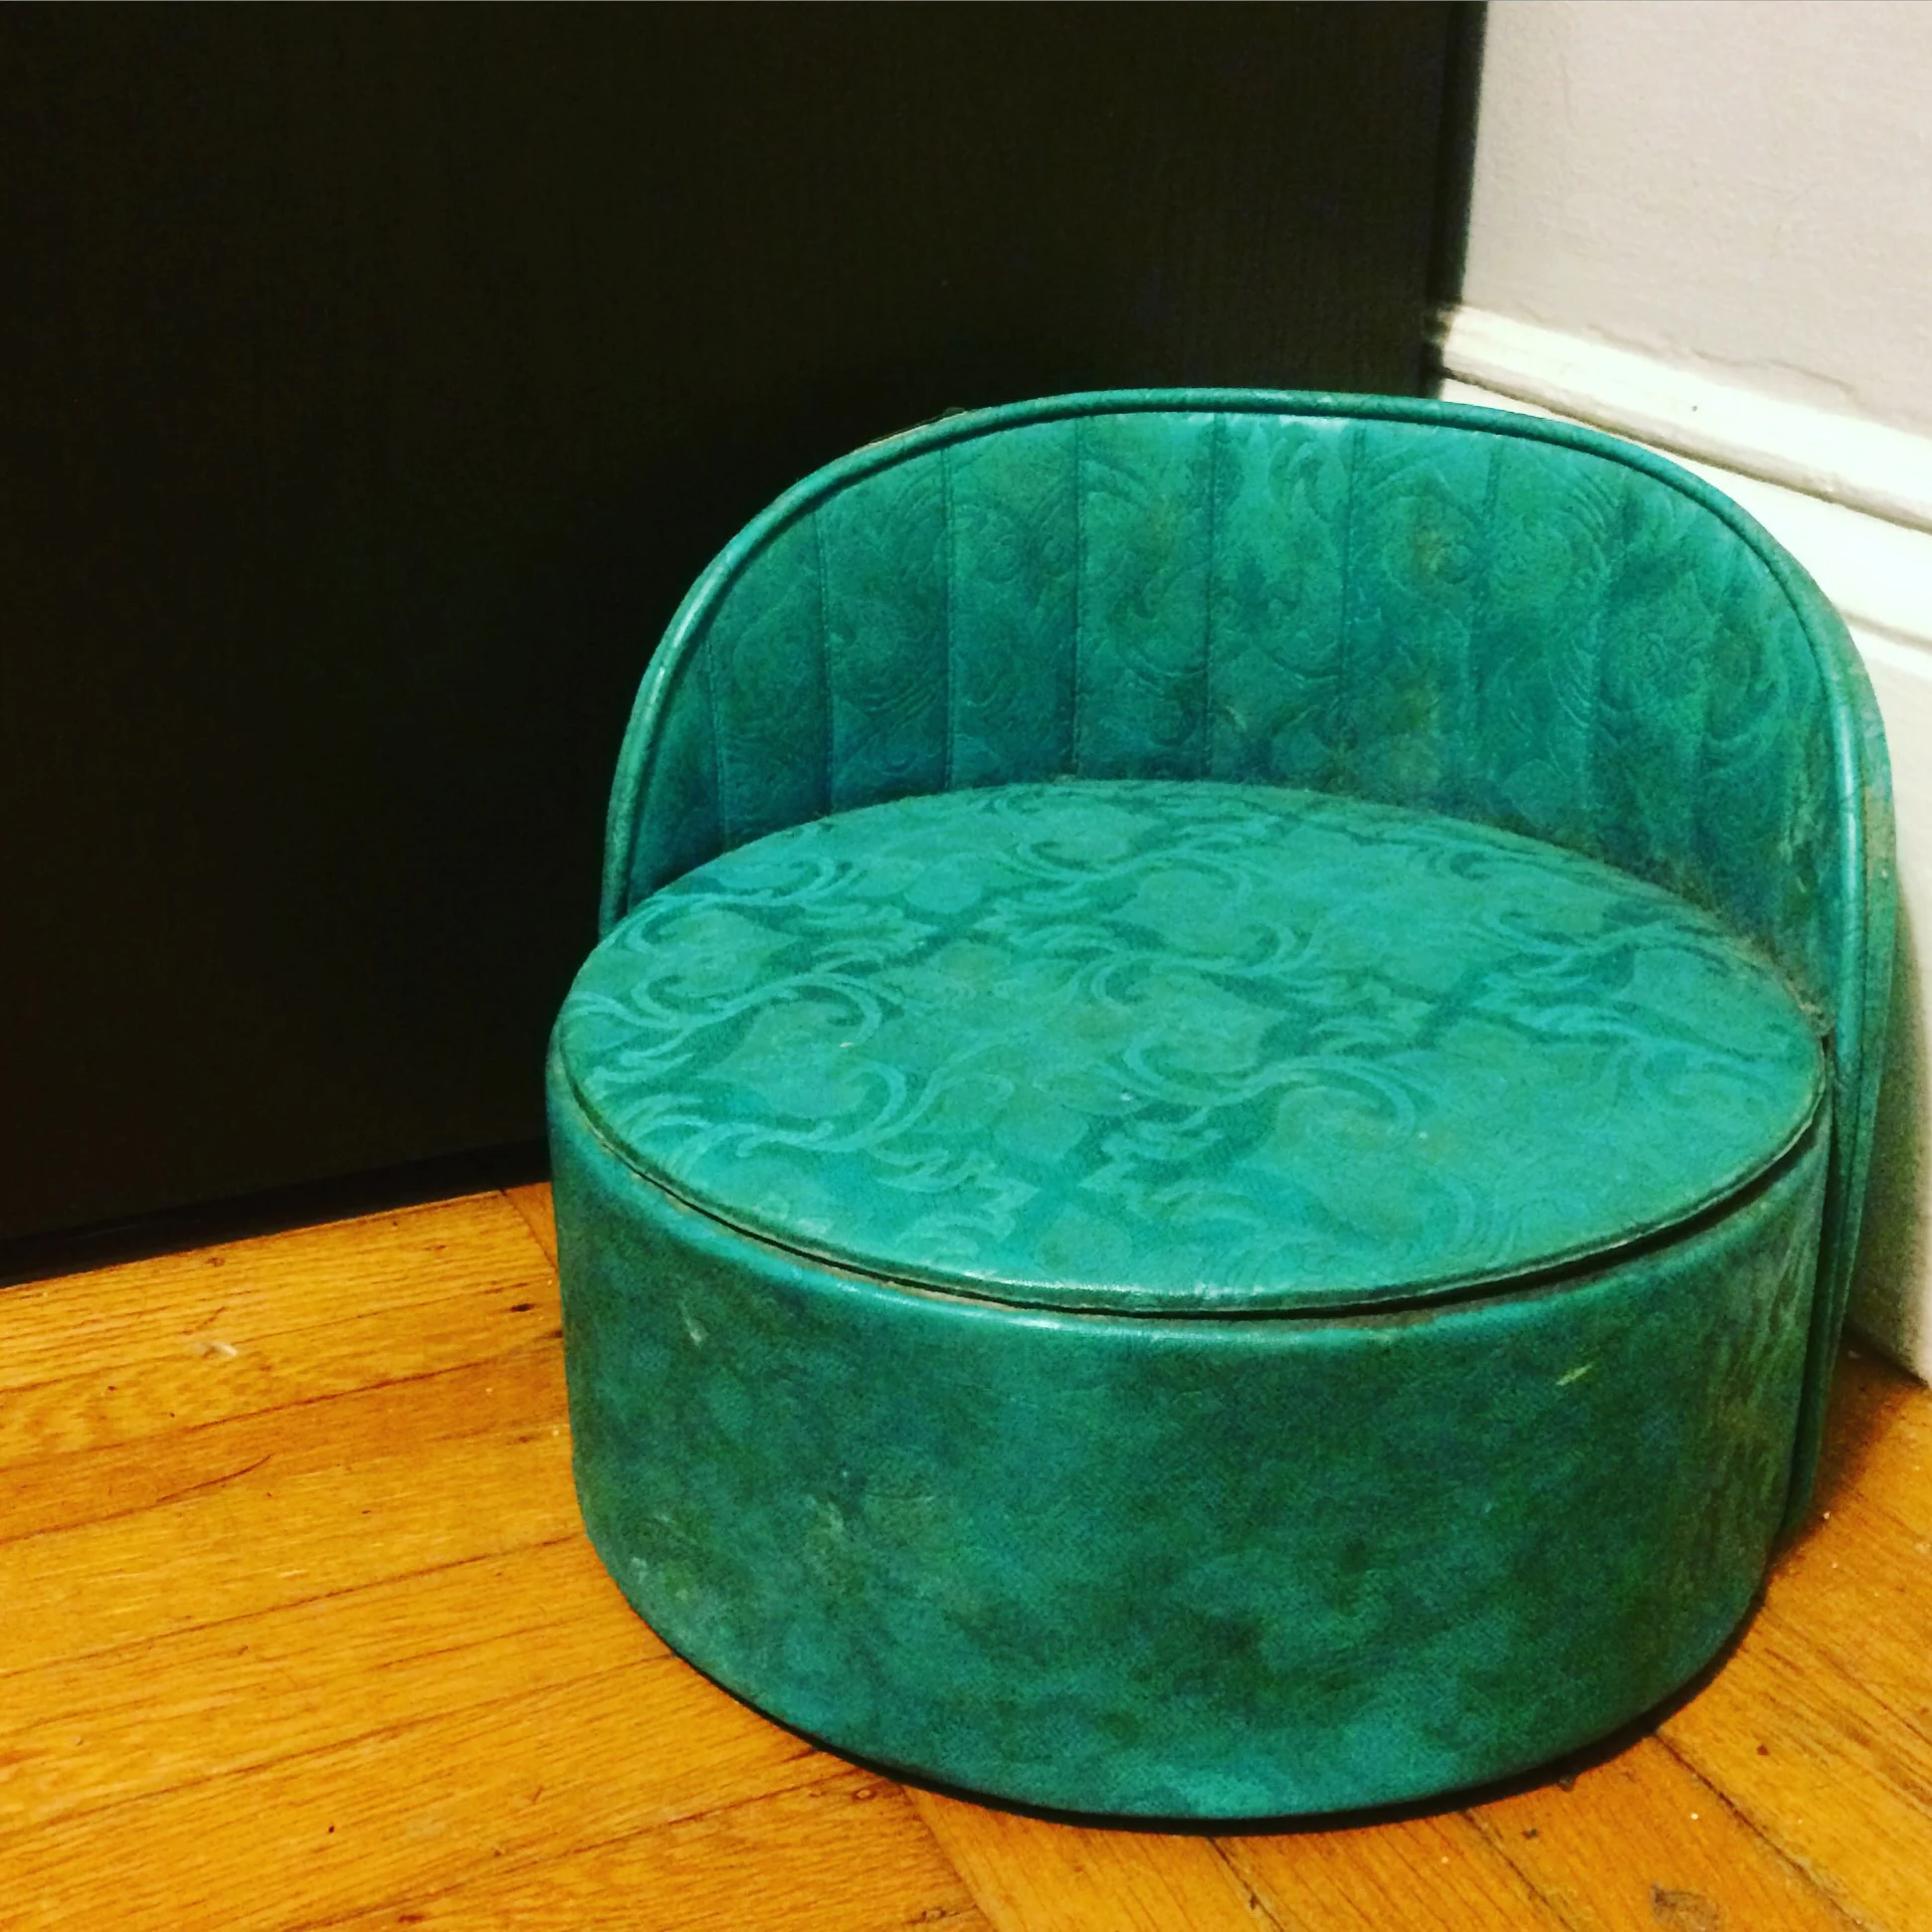
a few years ago i was walking home from the bart and came across this little seat on the curb. sure it didn't look like much but with Nora and Etta due for a visit in a few weeks I took it home.
for the last two years it has lived in our closet. when the girls visit it comes out and is used as a seat for coloring, eating mac and cheese, watching old school cartoons with aunt maggie and aunt vic, etc.
then one day a few weeks ago i decided to give it a face lift and gift it to my darling neela as a birthday present.
preparation
first I stripped off all the old staples, vinyl, batting, and foam. in addition to being incredibly satisfying this left me with a plywood base.

for softness, and because I was already in my pjs and didn't want to go out to buy batting, i covered the plywood in a fleece from my stash. i used three layers on the top with the two extra being hand stitched to the top of the cushion. In addition to providing softness this trial run gave me much needed experience for the next step: sewing the actual cover.

fabric selection & seat cover
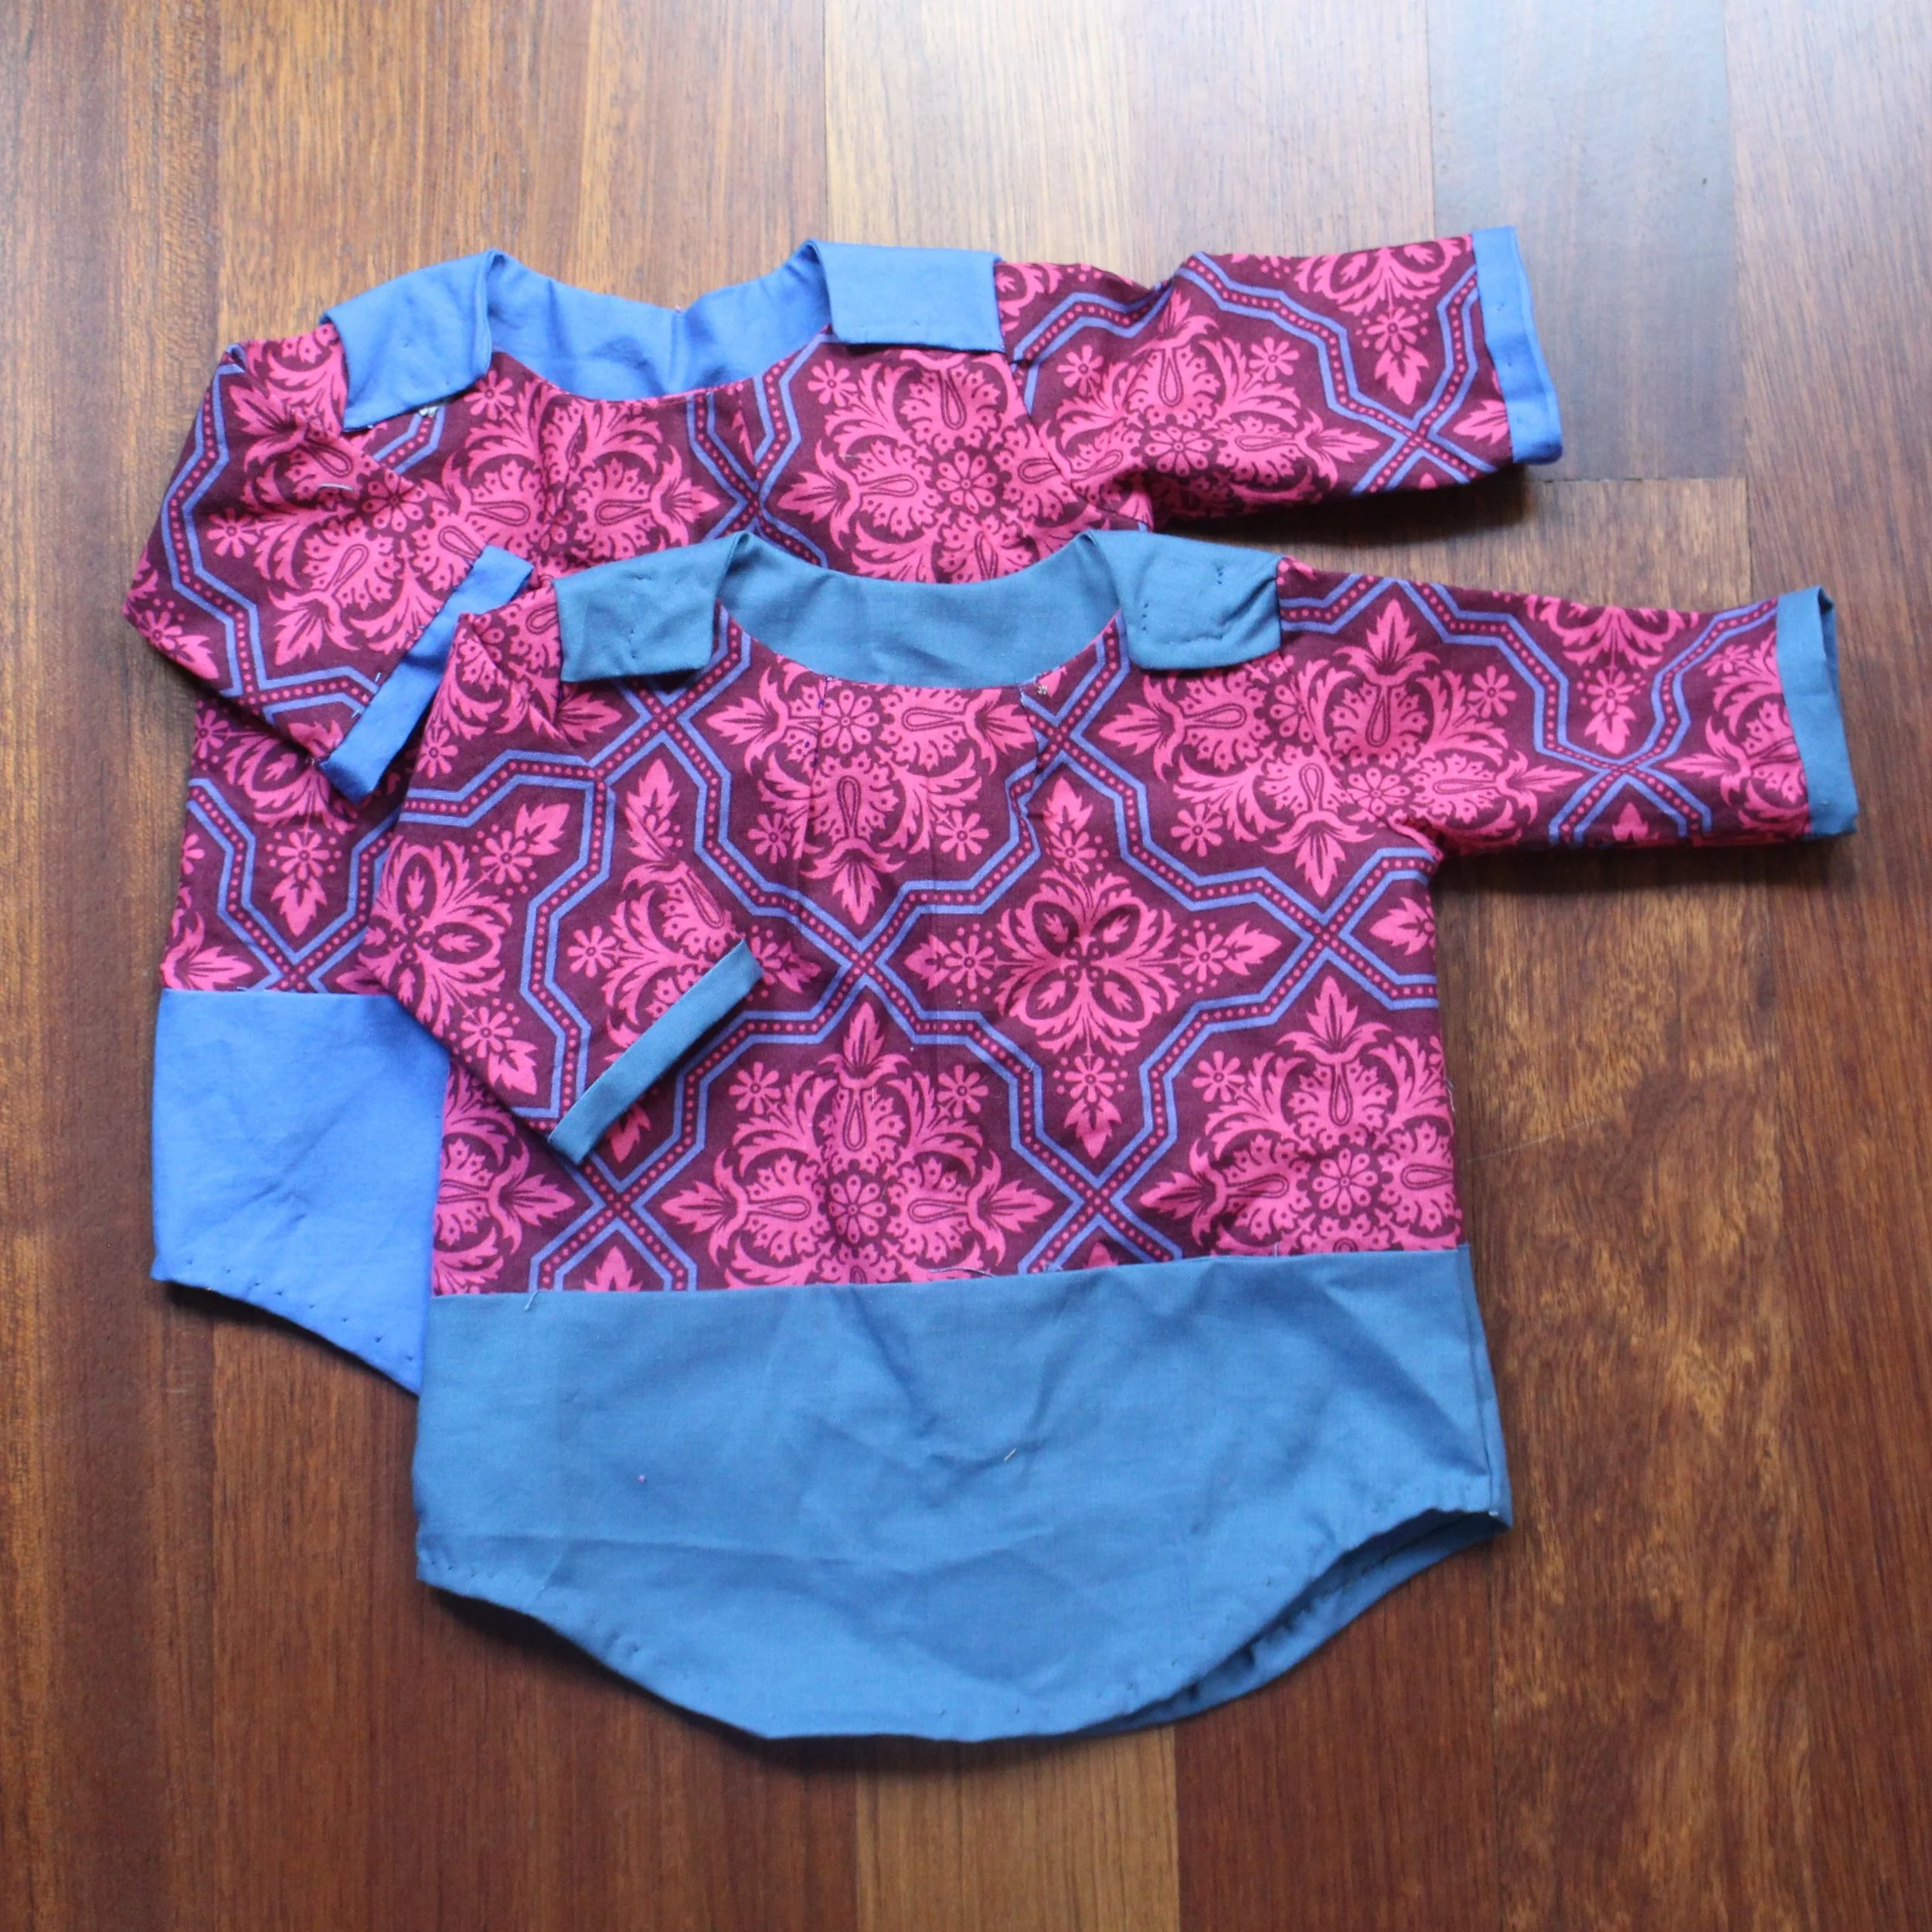
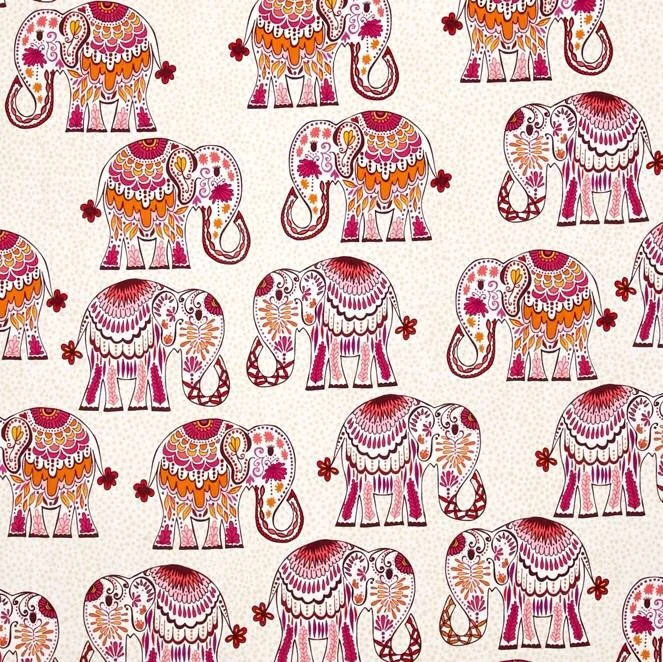
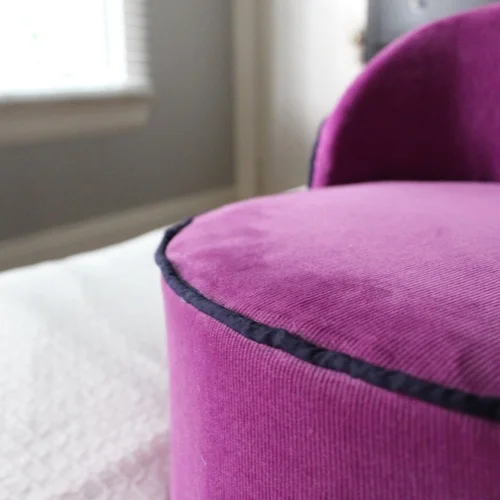
as much as I wanted to use one of the many quilting cottons from my stash for the actual cover i was worried they wouldn't be heavy duty enough for a chair. so i went instead for this amethyst fine whale corduroy left over from nora and etta's show and tell dresses and the farmers market jacket.
the base was easy: i traced a circle the size i wanted, added in a seam allowance, and cut it out. for the side i cut a big rectangle: the length was the circumference of the circle I just cut, the width was the height of the seat plus the seam allowance plus an inch so it would fold over the bottom.
back cover & pocket
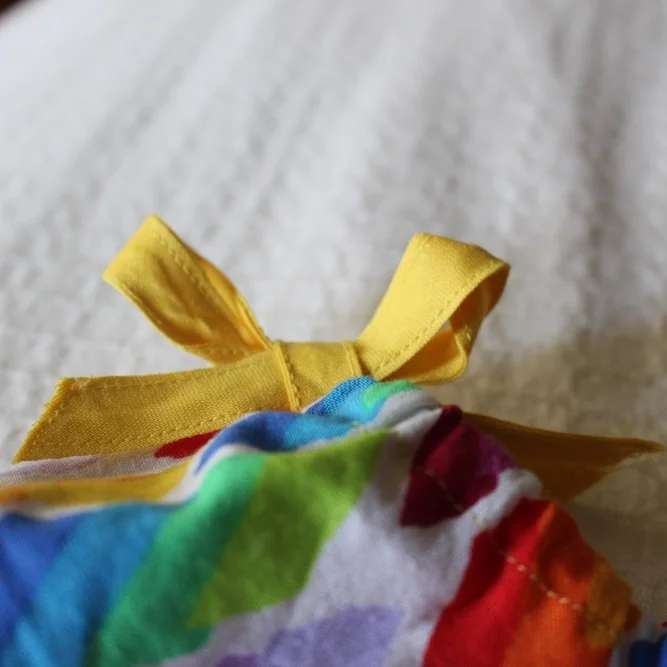
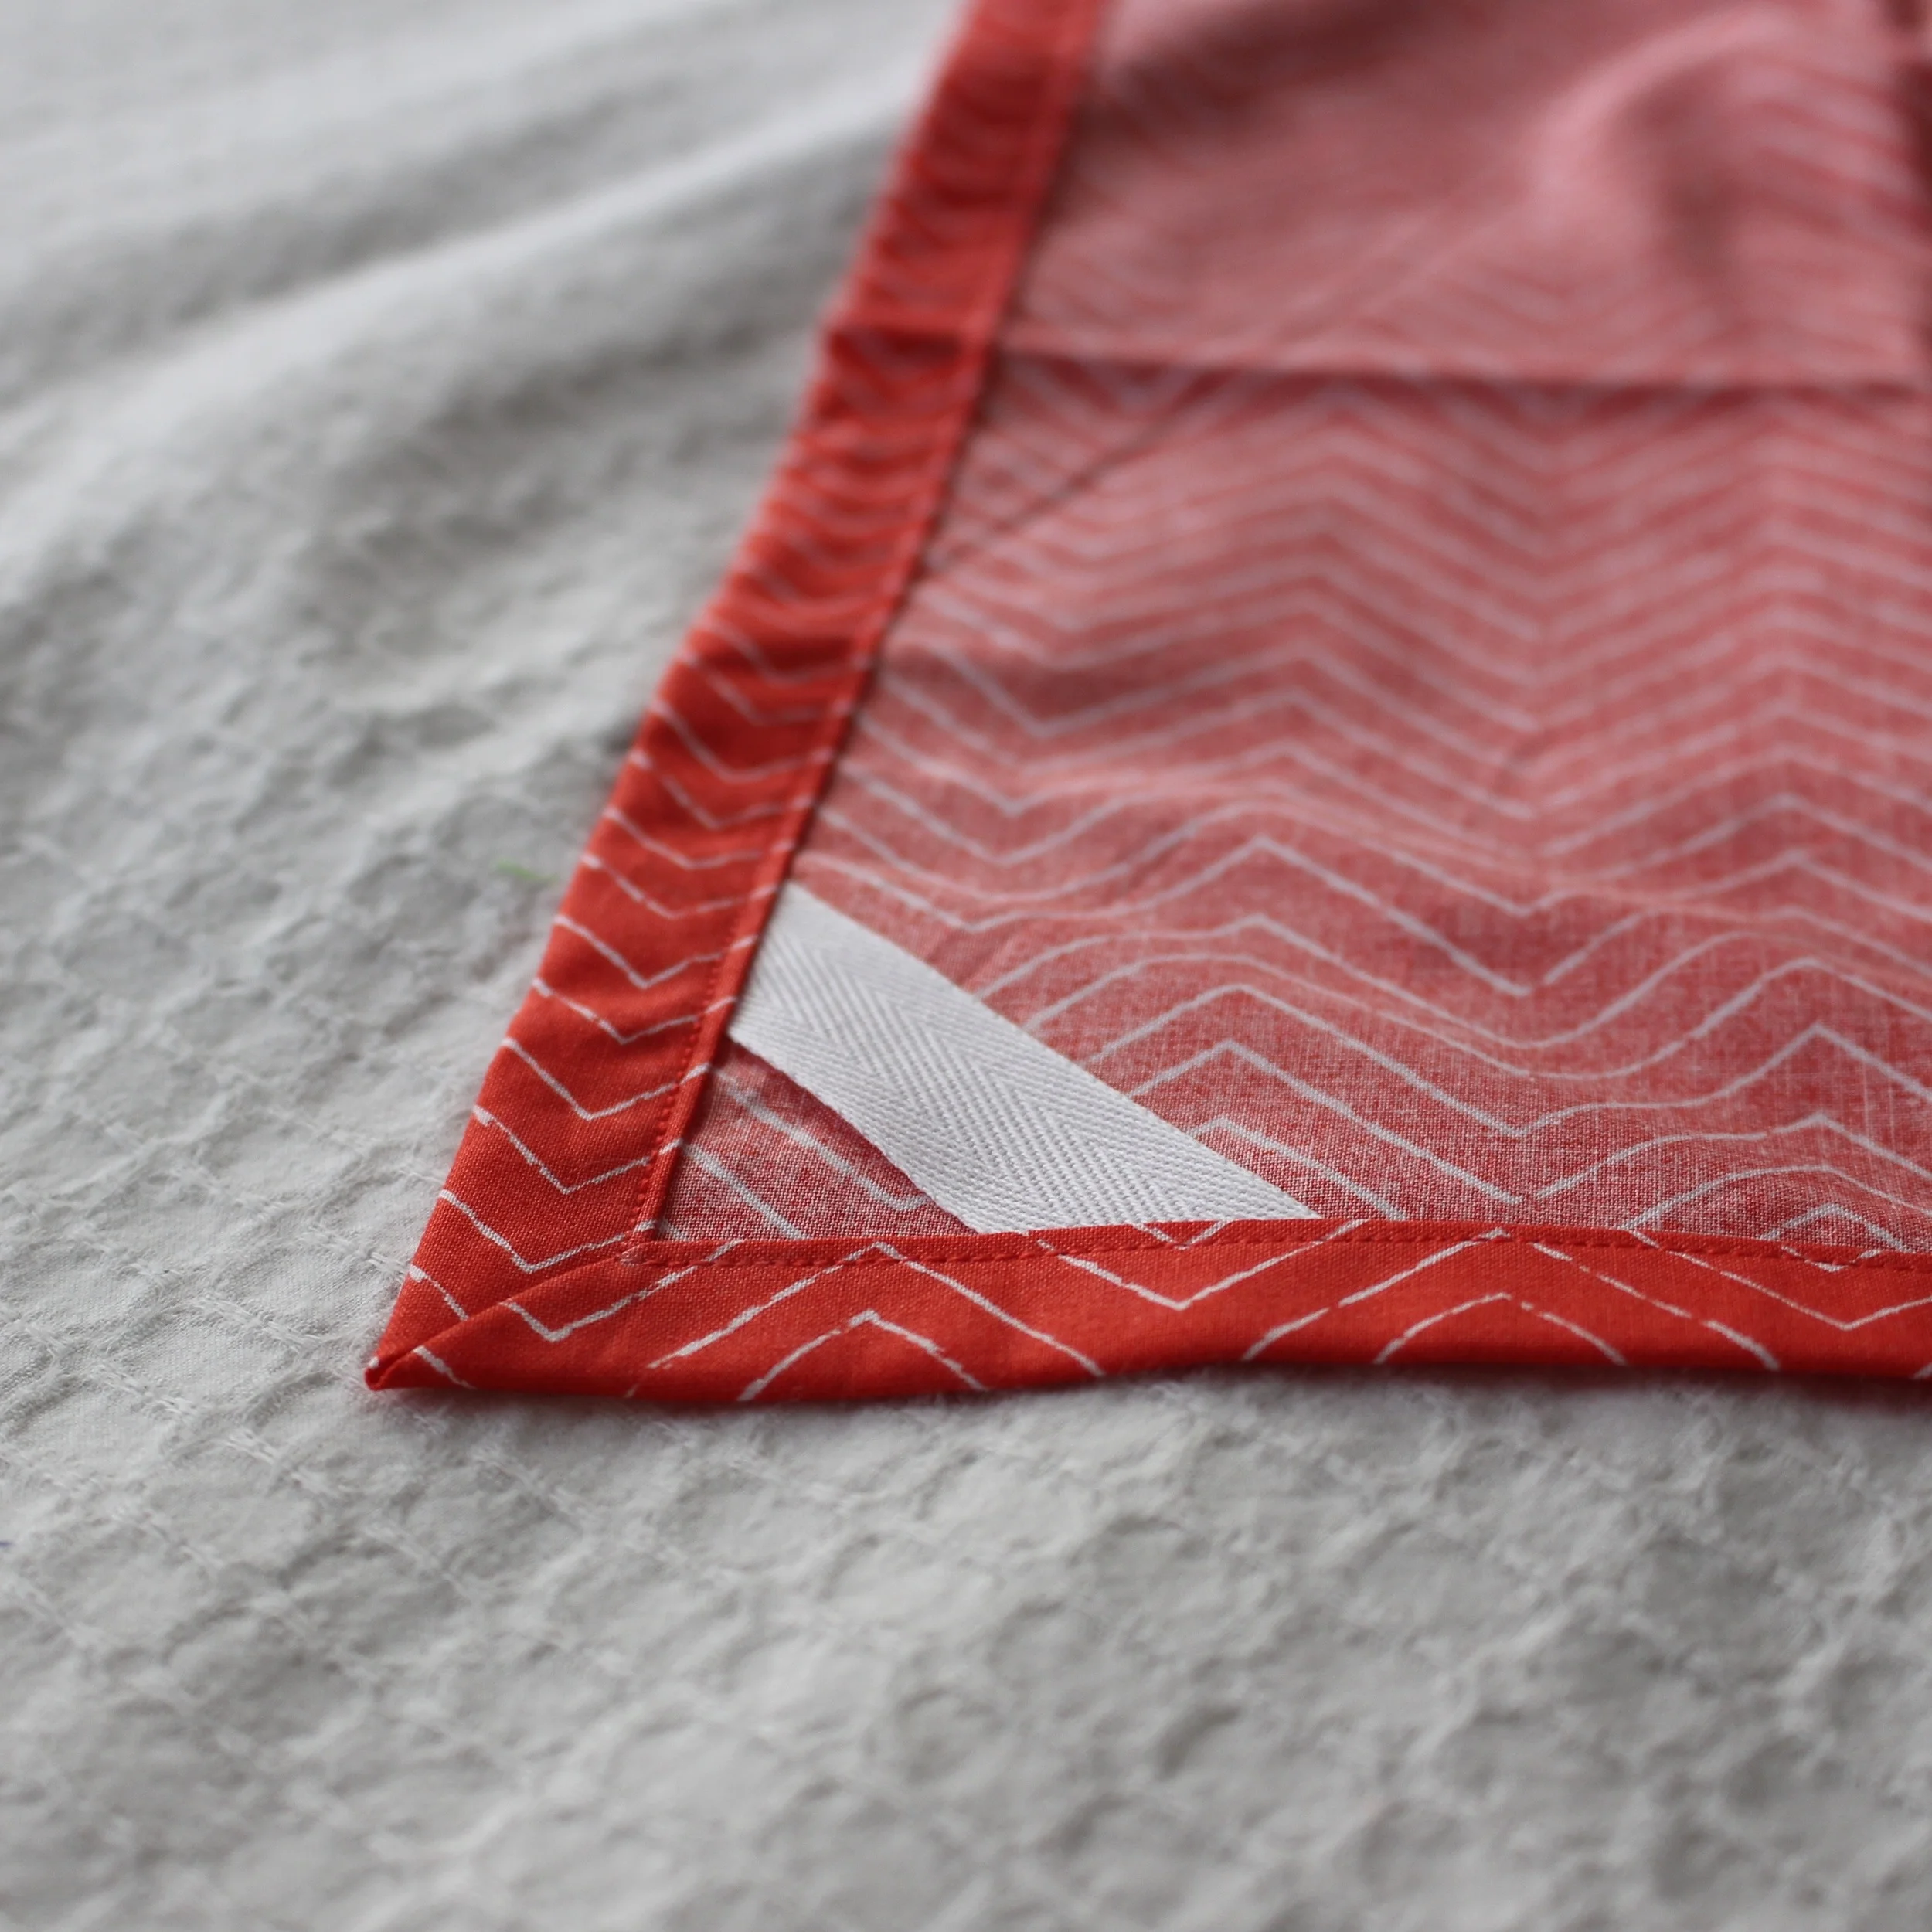
for the back i laid the curved piece down on some parchment paper and traced it out, rolling it as i went. then i added a generous seam allowance (always easier to subtract then add). before sewing the back piece on i added a love aunt maggie label and a gathered pocket.
I sewed the whole thing together, adding some home made navy piping as i went. the back took a little trial and error but eventually i got it to fit right.
finishing touches
once the sewing was done I got to play with the tools. I used the staple gun (while victor looked on lovingly) to attach the bottom cover in place.
then I hit up the local hardware store and picked up 1.5 square feet of cork. I traced it into a circle the appropriate size, stamped it, added a touch of glue and clamped it into place until it dried.
all in all this project cost a mere $1.50 for the cork. not bad, not bad at all!
love,
aunt maggie