a coat for any given sunday
back to school outfits might be the start of fall sewing but for me the season doesn't sink in until i've made at least one coat. this year my inaugural outerwear garment was another school days coat, from you guessed it, oliver + s.
origin story
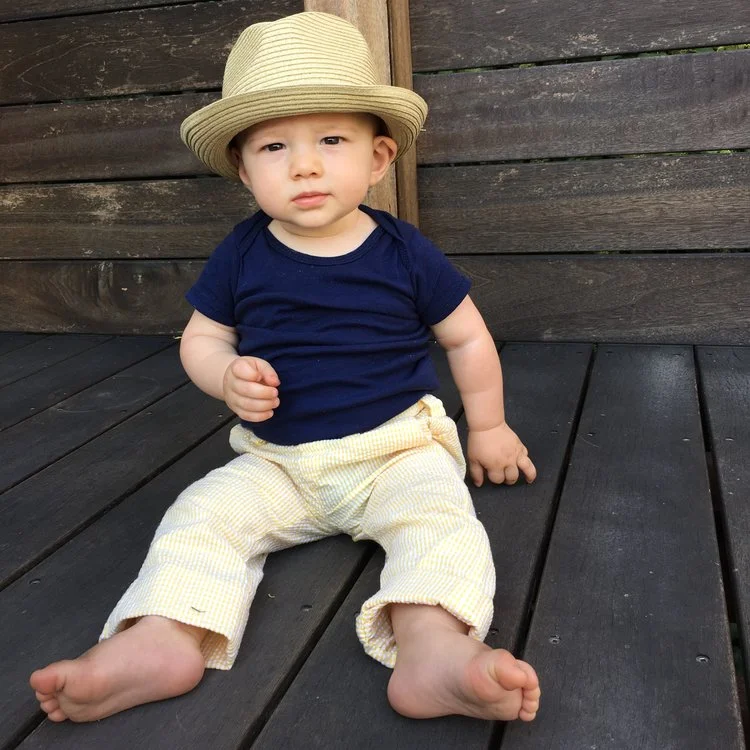
okay, remember this lil' man flannel and these hippie baby pants i made a while back?
well the baby i made those for is now a bouncing two year old, and since his parents loved the first present so much i decided to make them another.
as for what to make, well i had already gone to the work of tracing and cutting out all 16 pieces of the size 2T school days coat when i made maya her paddington coat, so i figured that was as good a project as any.
supplies
this family really loves the football team in washington d.c. while i don't necessarily think this team's name is politically correct (and the text messages victor and his buddies exchange every time washington plays philadelphia are certainly not child friendly), we do love these friends. so i decided to make them a gift in burgundy and gold color theme.
when britex had a sale on wool in early june i snatched up a yard of this bordeaux boiled wool. as it always does buying fabric online broke my liberal heart a little, but the sale was only for online orders and i didn't have time to go into sf (plus god knows going to a store like britex would surely test my resolve to not buy extraneous fabric until i have sewn through my stash). so i told myself if the color wasn't right for this coat i would use it to make a school days coat for neela and at least i was buying from a local store.
the wool arrived a few days later and i was thrilled with the color and immediately set about searching for a suitable mustard yellow print to accompany it. when i saw this cotton + steel xoxo print in dandelion from their basics line i knew it would be perfect. i checked out two local shops (a verb for keeping warm and stonemountain & daughter) but neither establishment had it in stock so i (begrudgingly) resorted to an order from fabric.com.
finally i picked up the interlining, thread, leather cording, and the toggle buttons at my favorite local store: stonemountain & daughter.
construction
with all my supplies now assembled i set about cutting, and cutting, and cutting. it took two west wing episodes (thanks to fitz "helping" me by laying on the fabric i was trying to cut) but i finally had all 15 pieces of wool, 10 pieces of lining, and 8 pieces of interlining cut out and ready to go.
as with my previous school days coat i used my walking foot throughout construction. this wool was thicker that what i used for maya's coat (also from britex) so it was a bit trickier and there were several places where i had to unpick my stitching and start over. lucky for me the boiled wool hides a multitude of sins.
now i have to confess something: these pockets took me far too long.
i stupidly thought i could "wing it" with the pocket placement so i didn't transfer over the placement dots. when i first laid the pockets out they looked far too large (i didn't realize they were designed to go over the side seam.) so i cut them down and attached them in what i thought was a good place. however when i looked at the coat the following morning it was painfully obvious the pockets were too small.
so i looked at gail's school day coat and realized the pockets were supposed to go over the side seams. armed with this information i cut out the pieces (again), assembled the pockets (again), and attached them to the coat (again). i didn't bother to get the placement dots because i (stupidly) thought that since i now had the size correct and knew they had to go over the side seam i didn't need to be that exact with the placement.
however as soon as i started thinking about the hem it was clear the pockets were too low. so i accepted that liesl had it right all along, unpicked my stitching (again), transferred the placement dots to the fabric, and attached the pockets to the coat (for the third time).
modifications & adjustments
i did make four modifications to the pattern:
first i added an inside loop just below the hood for easy hanging.
second, i omitted the edge stitching along the bottom. instead i hand basted the wool in place then folded and hand stitched the lining into place.
third, i attached my label, but put it off to one side because of the pleated center back of the lining.
finally, i added a welt pocket on the inside using the instructions and pattern pieces from the art museum trousers.
finished product
in the end it turned out fantastically, but then again that is always the case with oliver + s patterns. now for the photos!
love,
aunt maggie


