toy tea bag tutorial
sometimes it's the simplest and easiest projects that bring my nieces the most joy.
my sister sammie is exactly the kind of mom that i, as her little sister and biggest recipient of her nurturing instincts for 26 years, always knew she would be.
that is to say she's amazing.
warm, caring, disciplined (when need be), and most of all really fun. so when i see maya idolizing her, hanging on to her every word, and wanting nothing more than to be like sammie, i can totally relate.
for what it's worth my sister can also be sickeningly perfect. so maya & neela when you get infuriated with her in about 12-15 years, i'll totally listen to you vent, validate your feelings while assuring you it all comes from a place of love, then we'll go out for pedicures and tapas. if you play your cards right i'll probably buy you something your mom would roll her eyes at.
back to my point: since sammie loves to cook it's not at all surprising that this has manifested in maya loving her toy kitchen and anything food related. so one day while putting the genmaicha team from berkeley bowl in a new mason jar and labeling it with my new label maker (yep i realize how yuppie that sentence sounds and i've decided i'm okay with it) i got the idea to make maya some toy tea bags.
materials
- scrap fabric (prints)
- scrap fabric (white)
- cotton balls
- pinking shears
- embroidery thread
- interfacing
- stamps & fabric ink (optional)
instructions
- cut the white fabric into rectangles about 2 inches wide and 5 inches long.
- place cotton ball or two in center of rectangle and fold rectangle in half, leaving a rectangle that is 2 inches wide by 2.5 inches long with a bump on the bottom half (along the folded edge)
- pin around the cotton balls like you've never pinned before. seriously it's a cotton ball don't worry about swishing it.
- sew around the cotton balls in a 'house' shape
- trim with your pinking shears.
- using the scraps of white fabric, fabric ink, and stamps make your labels (for more info on stamping fabric check out my label tutorial). for mine i did chai, earl grey, lemon, peach, berry, and mint.
- interface two rectangles of fun printed fabric, about 1 inch wide by 1.5 inches long.
- stitch your label on to one of the fun printed fabric rectangles.
- with wrong sides together stitch one fun printed rectangle to the other, and trim the sides with pinking shears.
- using your embroidery thread attach the tea bag to the tea label.
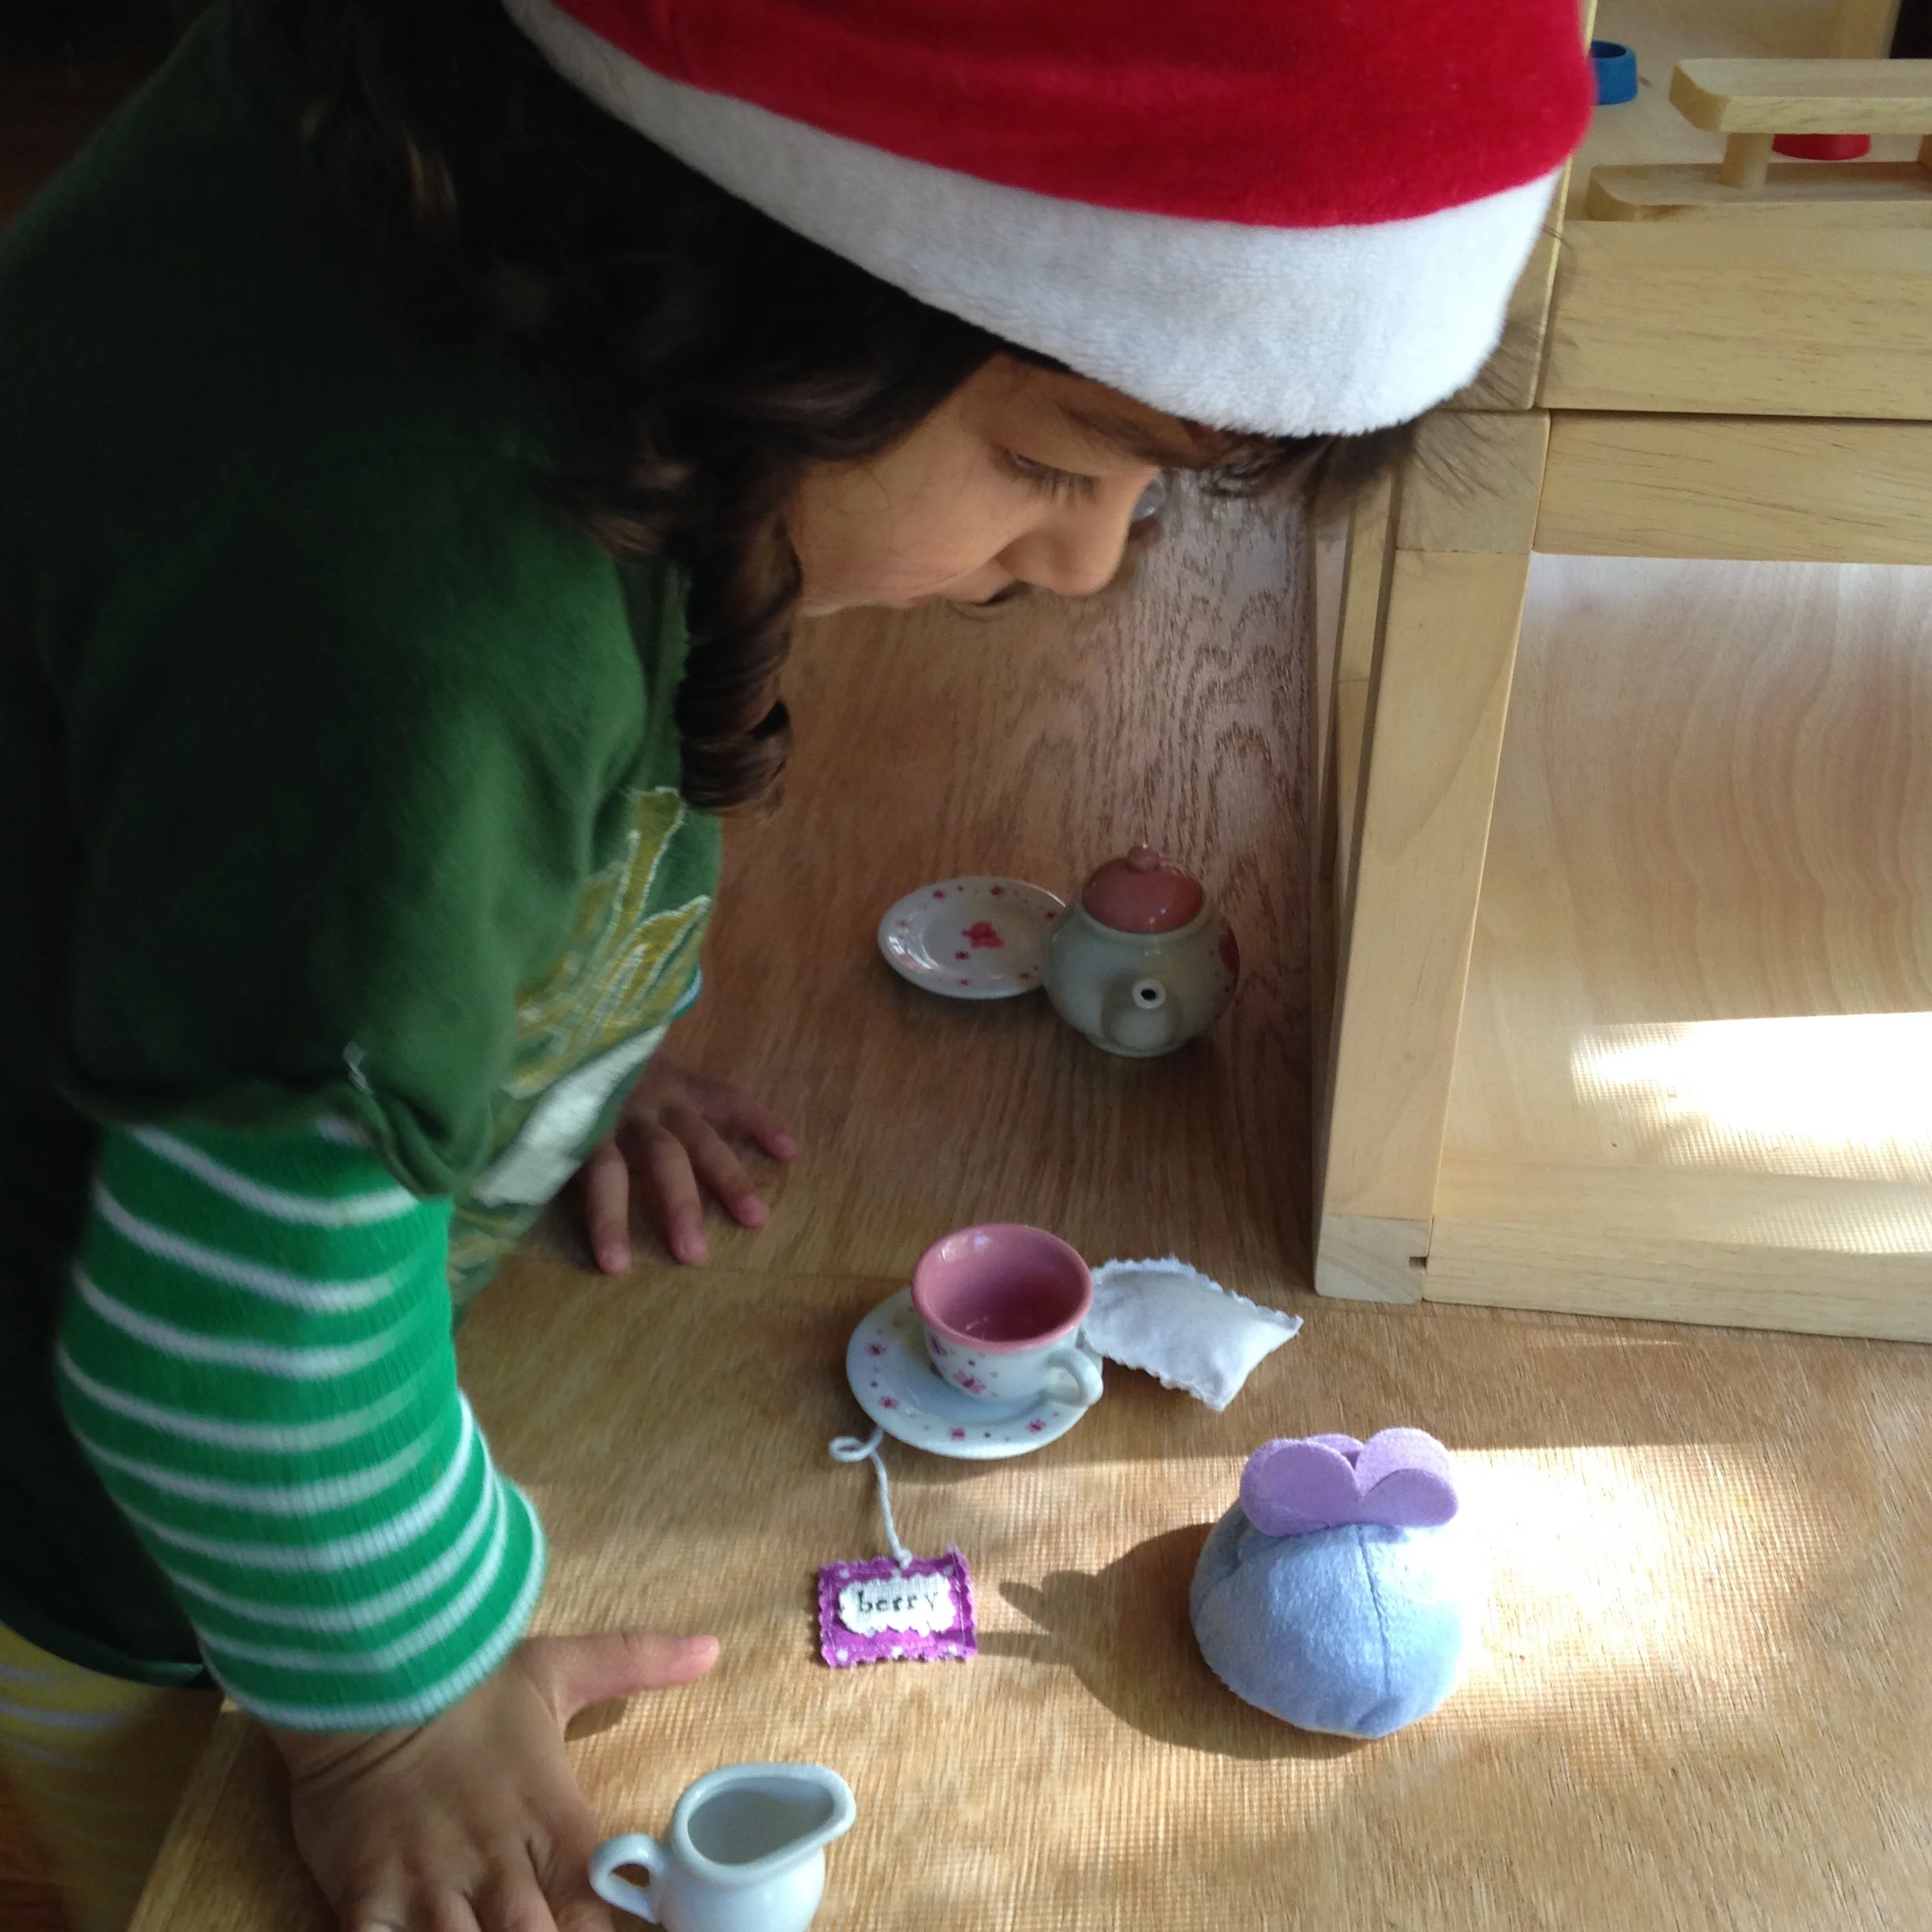
- enjoy a cup of tea!

love,
aunt maggie