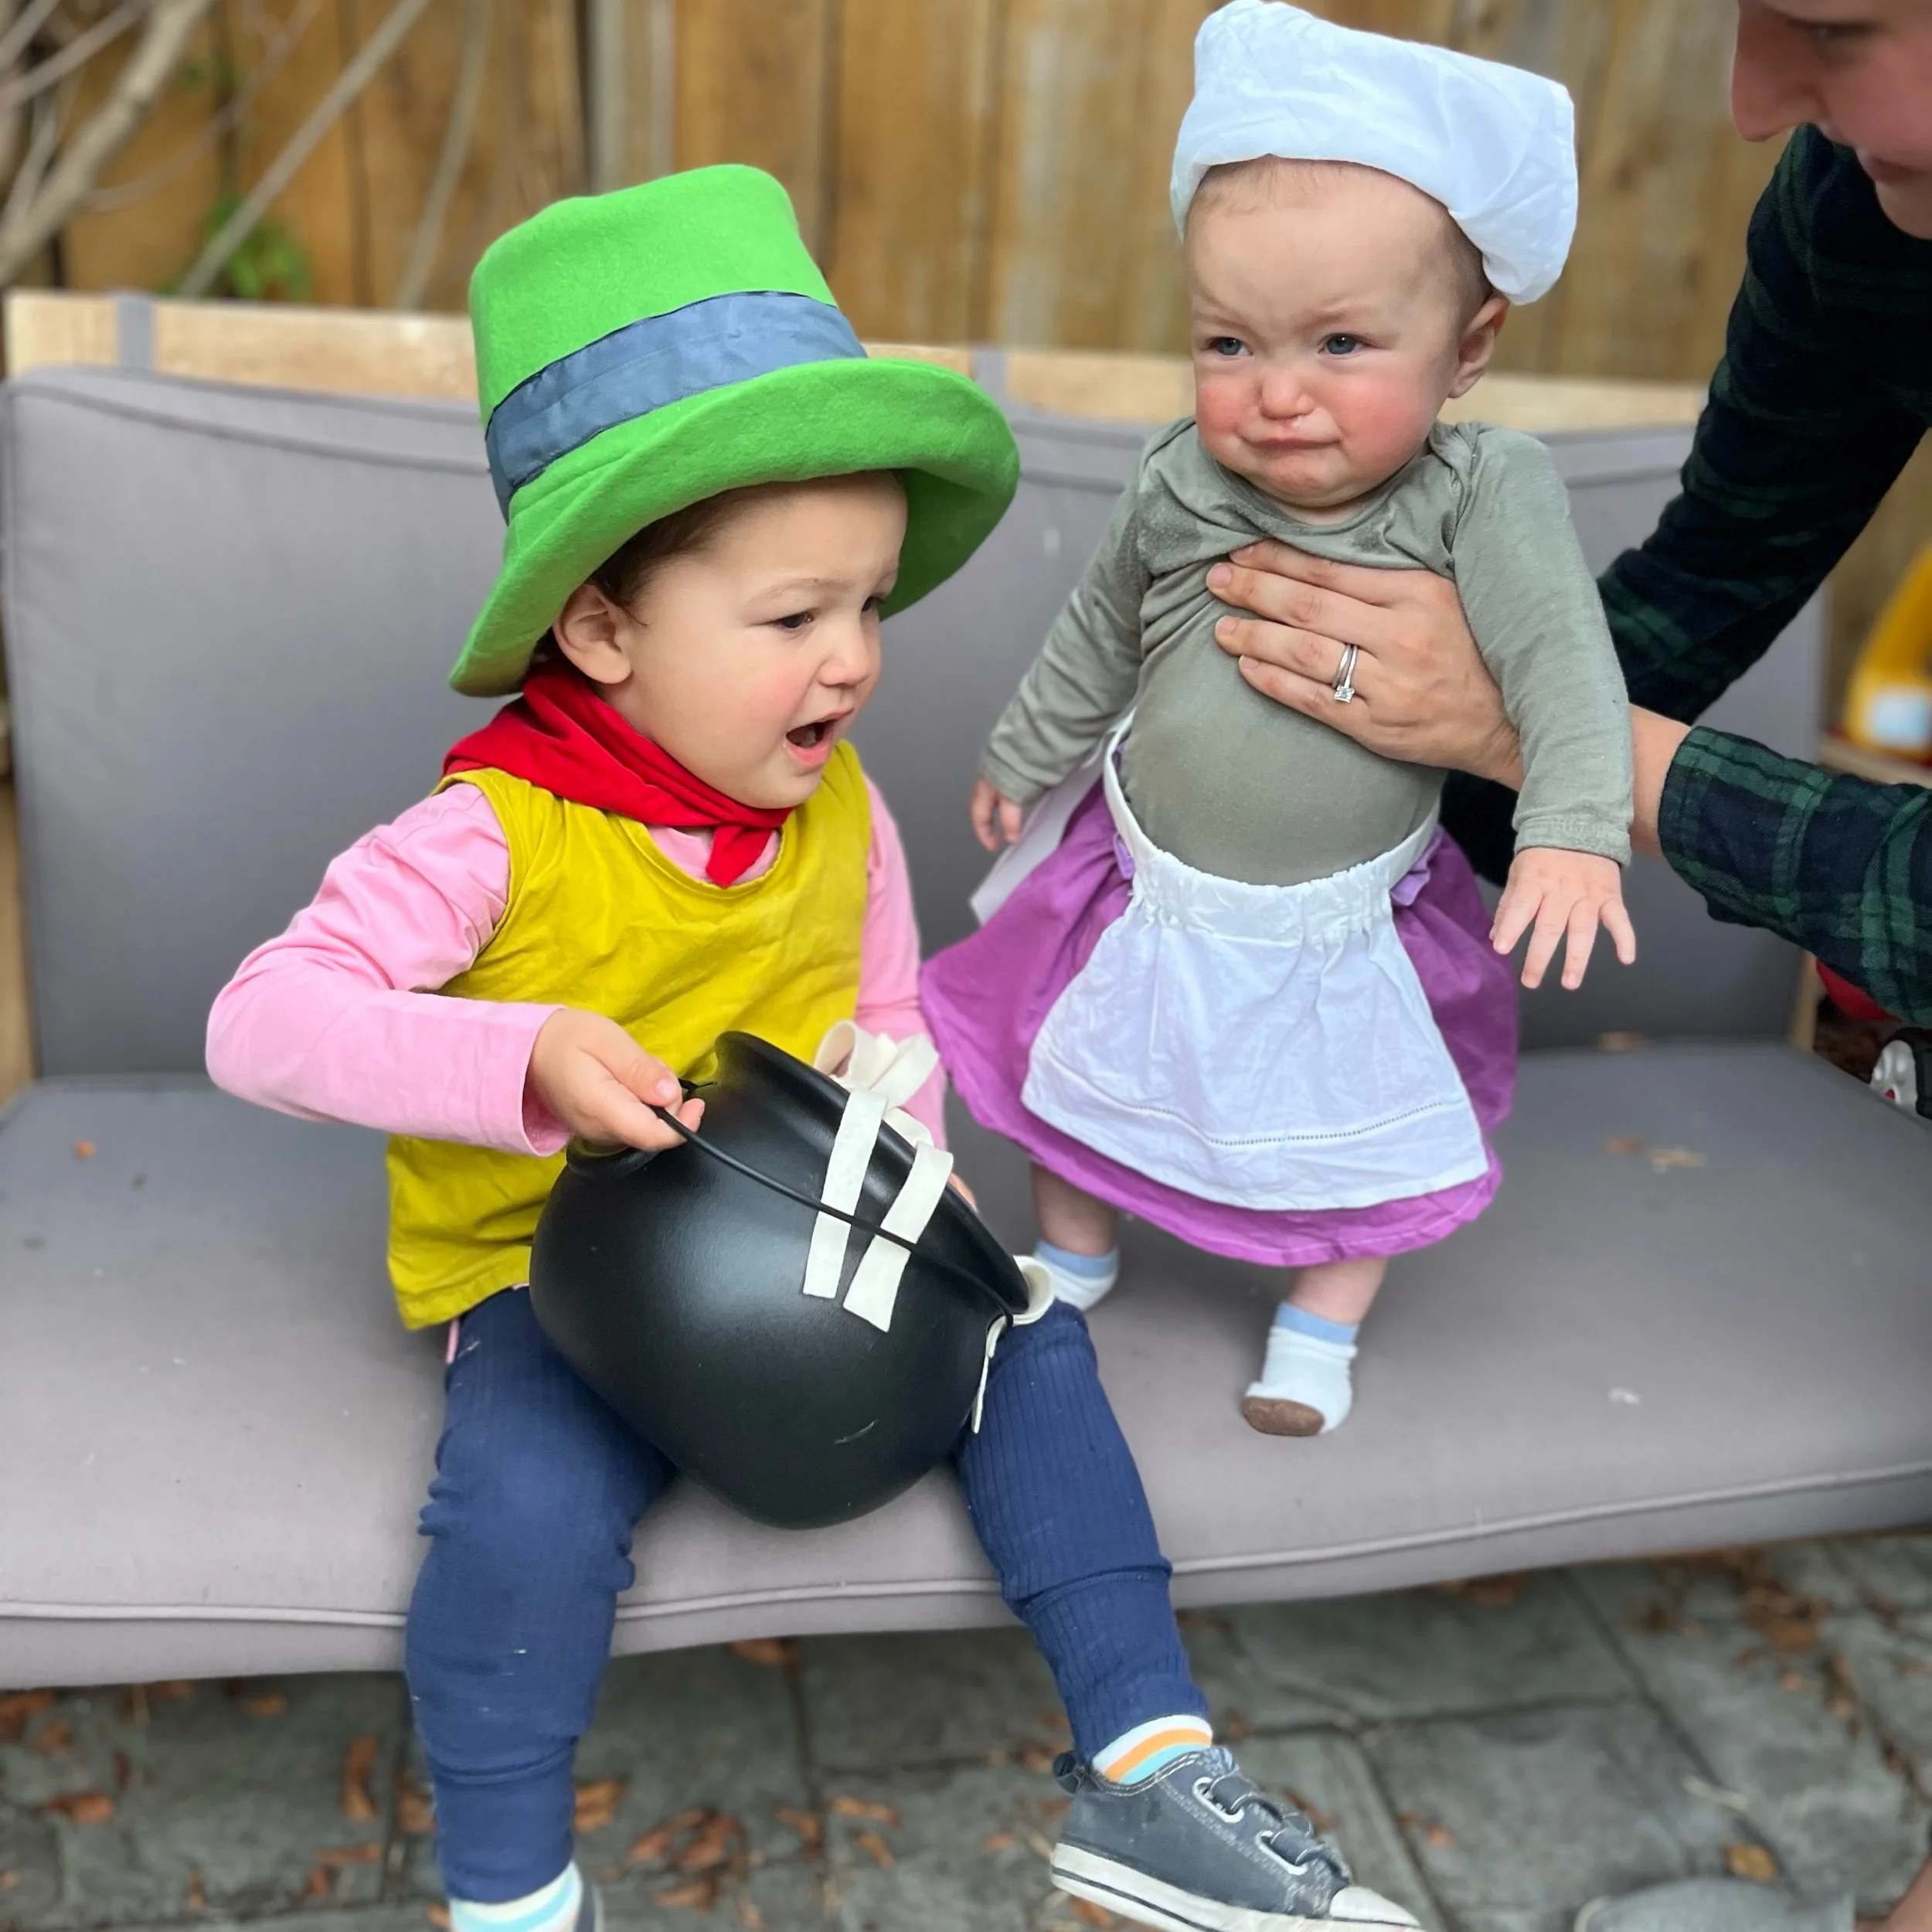
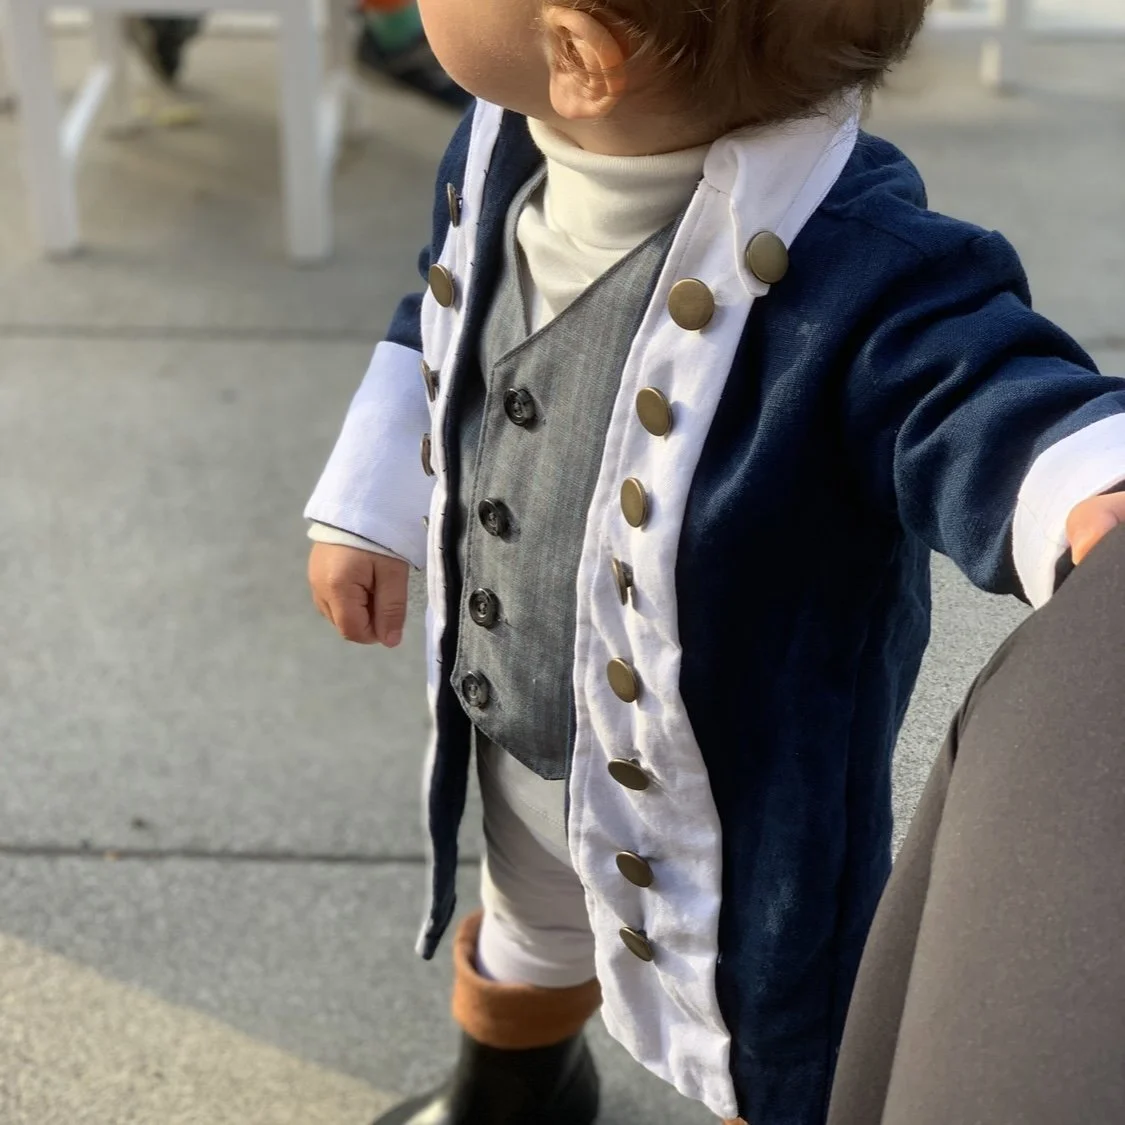
fairy tale dress tinkerbell alteration
did you know disney has an entire movie franchise on the adventures of tinkerbell? in one film 'secret of the wings', we learn about the existence of winter fairies and (spoiler alert) tinkerbell discovers she has a fraternal twin sister periwinkle.
drawing inspiration from this epic motion picture nora and i decided to make her and etta matching fairy sister dresses. we headed to the fabric depot in portland where she discovered the magic of fabric stores and i discovered 5 year olds are incapable of only touching fabric with one finger or staying with you in a store when glittery taffeta is involved.
after much negotiation (seriously jack welsh could learn a thing from my niece) we agreed on cotton for the dresses (washabity is key) and some shimmery sheer tulle for an overlay. then we picked out thread, zippers, and ribbon.
now here is what i remember for sure about the construction of these dresses:
1. i started with the fairy tale dress pattern from oliver + s.
2. i spent a fair amount of time during my red line commute planning and thinking through how the construction of the skirt would play out.
3. i drew a lot of inspiration for the whole thing from this post over at queen of the flies.
4. i was drinking otter creek black ipa throughout.
here is the rest, the details of which i am 80% - 90% certain of:
pattern redrafting & cutting
i merged the skirt into a single pattern piece by summing the width of the three pieces then subtracting two inches for seam allowances. as for length the original skirt pattern had an extra six inches for the hem. since this skirt would have a scalloped petal bottom (and a scant 1/4 inch hem) i subtracted four and a half inches from the skirt length so the finished length of this skirt would ungulate around the length if the original dress.
i drew my petals like i do pretty much everything else: in a very mathematical and borderline obsessive fashion. i first measured and marked the distance i wanted the bottom points to be apart. then i added dots halfway between each tick mark three inches up for the top of the petal. finally i connected the dots with a smooth arch.
finally since i wanted the petals to flow across the back of the dress so i made them symmetrical so they would meet properly at the back seam. this meant since i was making two different sizes dresses the scallops had to be slightly different widths for this to work.
i cut two identical pieces of this piece, one of the main fabric and one of the lining fabric.
construction
1. i constructed the bodice as normal for both the lining and main fabric.
2. i put in the gathering stitches and attached the main skirt to the main bodice, inserted the invisible zipper, and sewed the back seam of the main skirt as indicated in the instructions.
3. i added the petal sleeves per the instructions.
4. i attached the lining bodice to the main bodice as normal (omitting the collar).
5. i added in the gathering stitches to the skirt lining.
6. i sewed the back seam of the lining skirt, which left me with a loop of fabric.
7. i put this loop around the main skirt (right sides together) and stitching along the bottom (scalloped) edge.
8. i flipped the lining into the skirt, pressed out the points of the petals with a chopstick and ironed the whole thing into place.
9. i folded over the bodice lining and stitched it by hand to the skirt lining.
10. patted myself on the back for doing such an awesome job.
the overlay
to appease my niece's desire for impracticality and sparkle i made an overlay of tulle that could be worn over the dress (thus allowing the dress to be washed in a normal cycle).
i cut the overlay from the same pattern piece i used for the skirt. now around this time i traded in my old machine for my new janome and finished the bottom (scalloped) and two sides. i used one machine for nora's (the blue) and one machine for etta's (the green). which one do you think is better?
seriously which one? i can't remember which one is which, but i know one defenitely was.
finally i gathered the overlay to the desired width and enclosed the top edge between two pieces of thick ribbon that extended a foot on either side of the gathers and finished the whole thing off with fray check.
the result
as expected the girls loved their new dresses and immediately set about exploring my parents magical yard.
love,
aunt maggie


